Kitchen and bath remodel are the most common home improvements in America. But those renovations tend to cost thousands of dollars. Luckily, some home upgrades only require a caulking gun and a little time.
Do you know how to use a caulk gun to seal cracks and gaps? It’s an easy way to touch up kitchens bathrooms if you know how they work.
The following guide will explain 5 easy steps to caulk the right way. Read on and learn how to caulk a shower, tub, or almost anything else.
1. Load the Caulk Gun
First, use your thumb to release the plunger at the back of the caulking gun. Pull the plunger all the way back to insert a tube of caulk into the gun.
The end of the caulk tube with the nozzle goes in first. Remove your thumb once the tube is firmly in place. Some caulking guns load easier than others, so shop for one that’s professional grade.
2. Cut the Nozzel’s Tip
Next, cut the tip of the caulk tube’s nozzle according to the size of the area you’re caulking. Remember to cut it smaller than needed initially. You can always make the hole a little bigger if needed, but not the other way around.
3. Puncturing the Seal
Use a nail to push through the cut opening of the caulk tube’s nozzle. It will puncture any foil seal or buildup to let the caulk exit freely.
Pull the caulking gun’s trigger a few times so that the plunger makes contact with the tube’s membrane. Then, pull the trigger one or two more times to fill the tip with caulk.
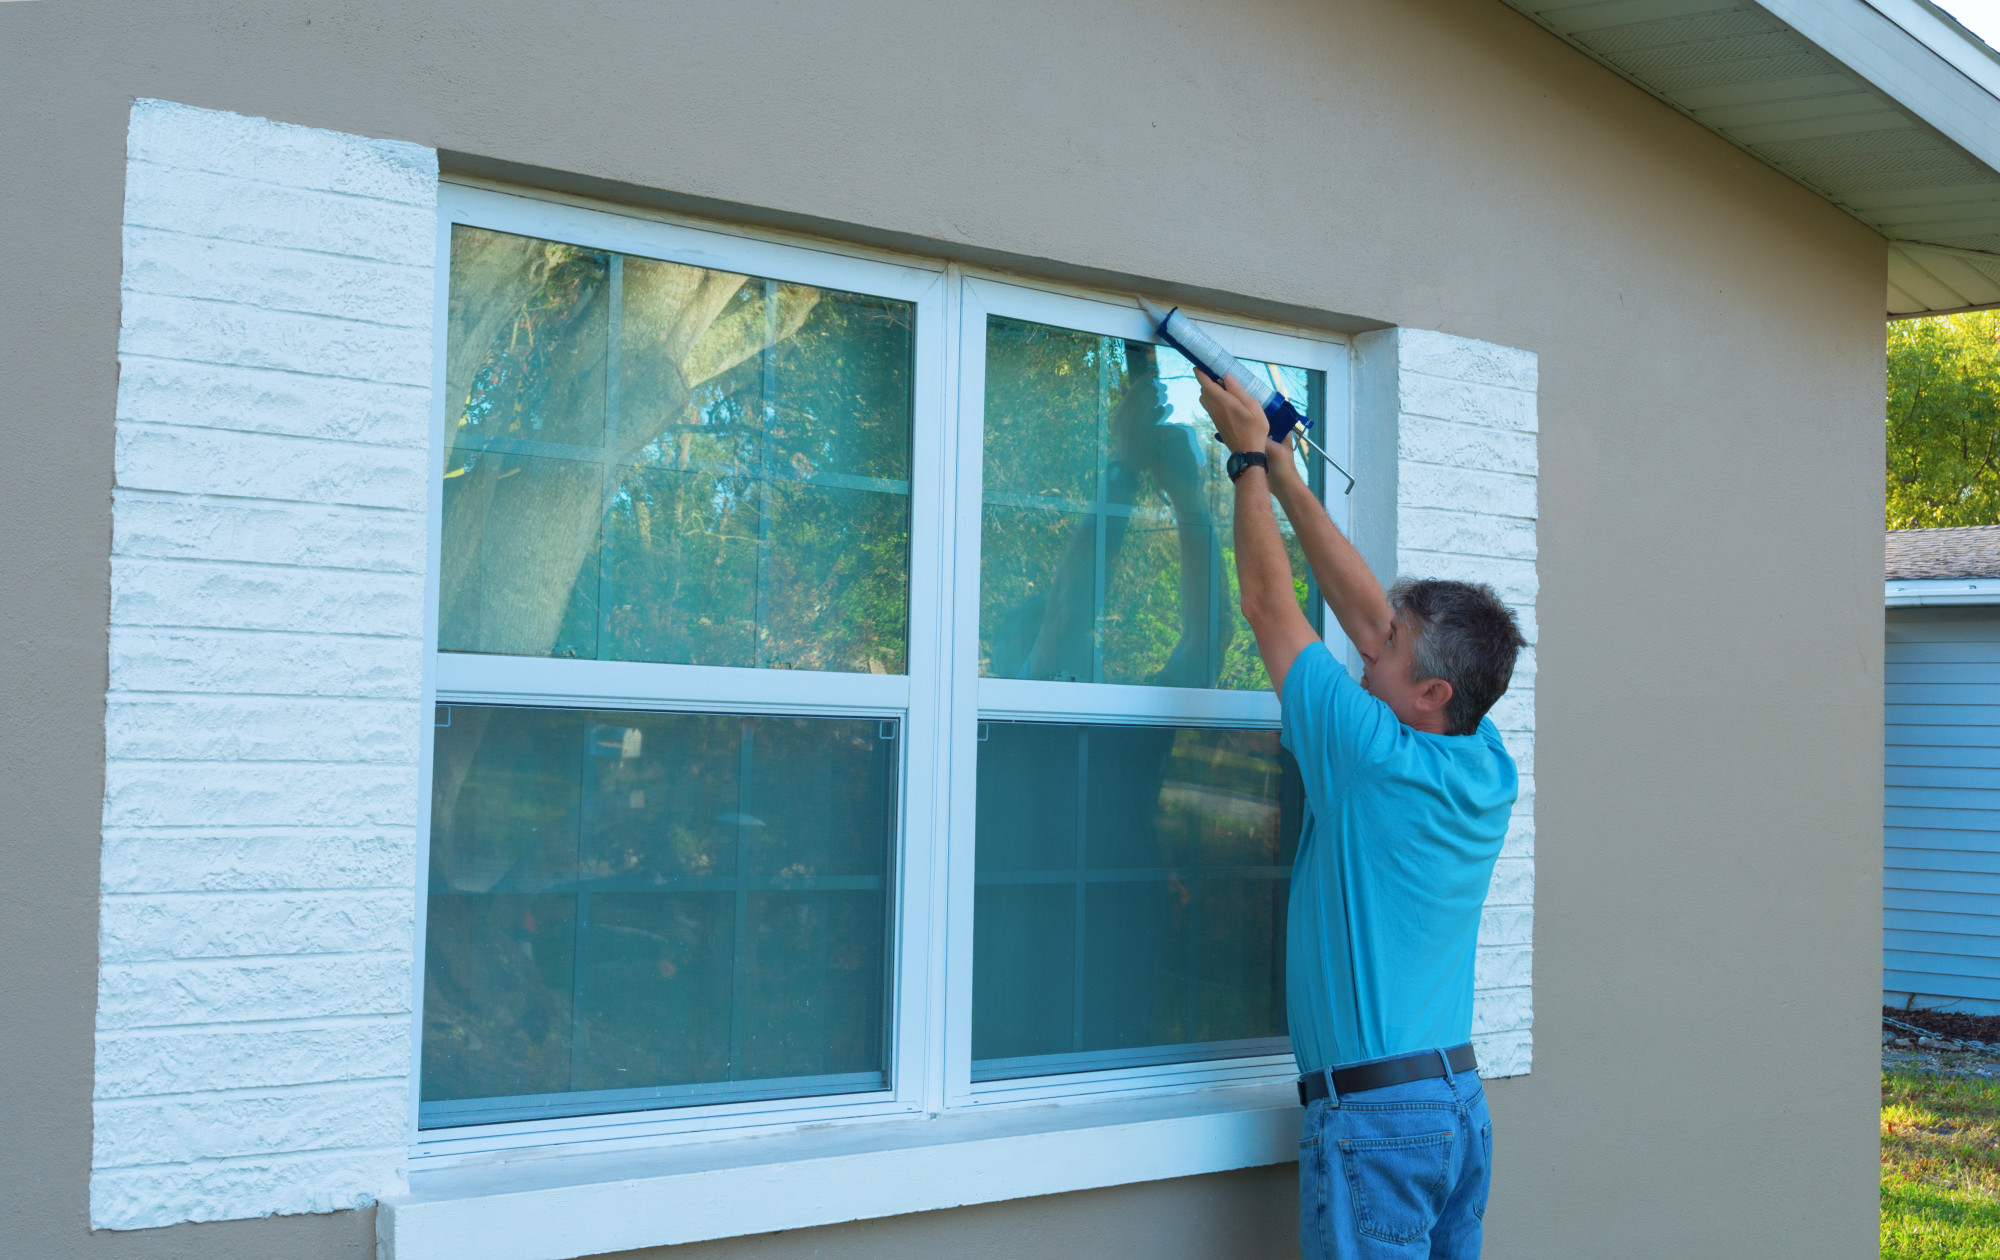
4. Begin Caulking
Begin caulking the area at a 45-degree angle. Pull the trigger slowly and continue moving the gun at a consistent speed. Try to use even pressure when pressing the tip to the caulking area.
The trigger will automatically spring back once it’s fully recessed. Release the pressure to stop the flow of caulk at the end of your bead.
5. Reload and Smooth
Release the handle once you can’t squeeze it anymore to reload the gun with caulk. It will spring back and you can keep caulking as much as you need. Lastly, smooth over the applied to caulk using your finger for a clean look.
Additional Tips
Remember to remove any old or cracked caulk before applying new caulk. Use a utility knife or caulk removing tool to do this. Then, use rubbing alcohol to clean the area and ensure that the sealant will bond.
Make sure to test the caulk on something like a paper towel before starting your project. Make sure the flow is correct and the tube is inserted properly. Also, consider using painter’s tape for cleaner caulking lines.
How Long Does Caulk Take to Dry?
Some caulks become dry to the touch in only half an hour. However, it usually takes at least 24 hours to become waterproof.
Some caulks can even cure after you’ve painted over them. Check the instructions on the back of the tube for your brand’s specific drying times.
Understanding How to Use a Caulk Gun
Now you know how to use a caulk gun in 5 basic steps. Take your time and get a feel for how much pressure to use and the right angle when caulking. With a little practice, you’ll be caulking like a pro!
Take a look at the rest of our blog for more helpful home improvement tips.