Making a quilt is one of those wonderfully romantic hobbies that we think of our grandmothers doing. We picture them sitting around sewing on a gorgeous comforter that we’ll later huddle up in by the fire and keep on our guest beds when people come to visit. But quilting can also be a wonderful hobby that you can do yourself.
The process of making a quilt is simple, if long, and the results are more than worth the time put in. Read on to learn how to make a quilt that you can cherish forever.
Make the Top
The first step in making a quilt is to make the top, the decorative part of the quilt. There are a million different ways and a million different patterns you can use to do this. You can use old fabric scraps you have around the house, t-shirts that meant a lot to you, or specially ordered fabric or fat quarter rolls.
Sew your pieces together in the desired pattern using ¼” seams. Make sure you keep your seams as straight and even as possible to avoid bunching in the quilt later; classes from Fabric Bash Quilting & Sewing can help you sew a top that will look good later. You can make your quilt as large or small as you like, but be sure you leave room for seam allowance when you’re calculating how much fabric to buy.
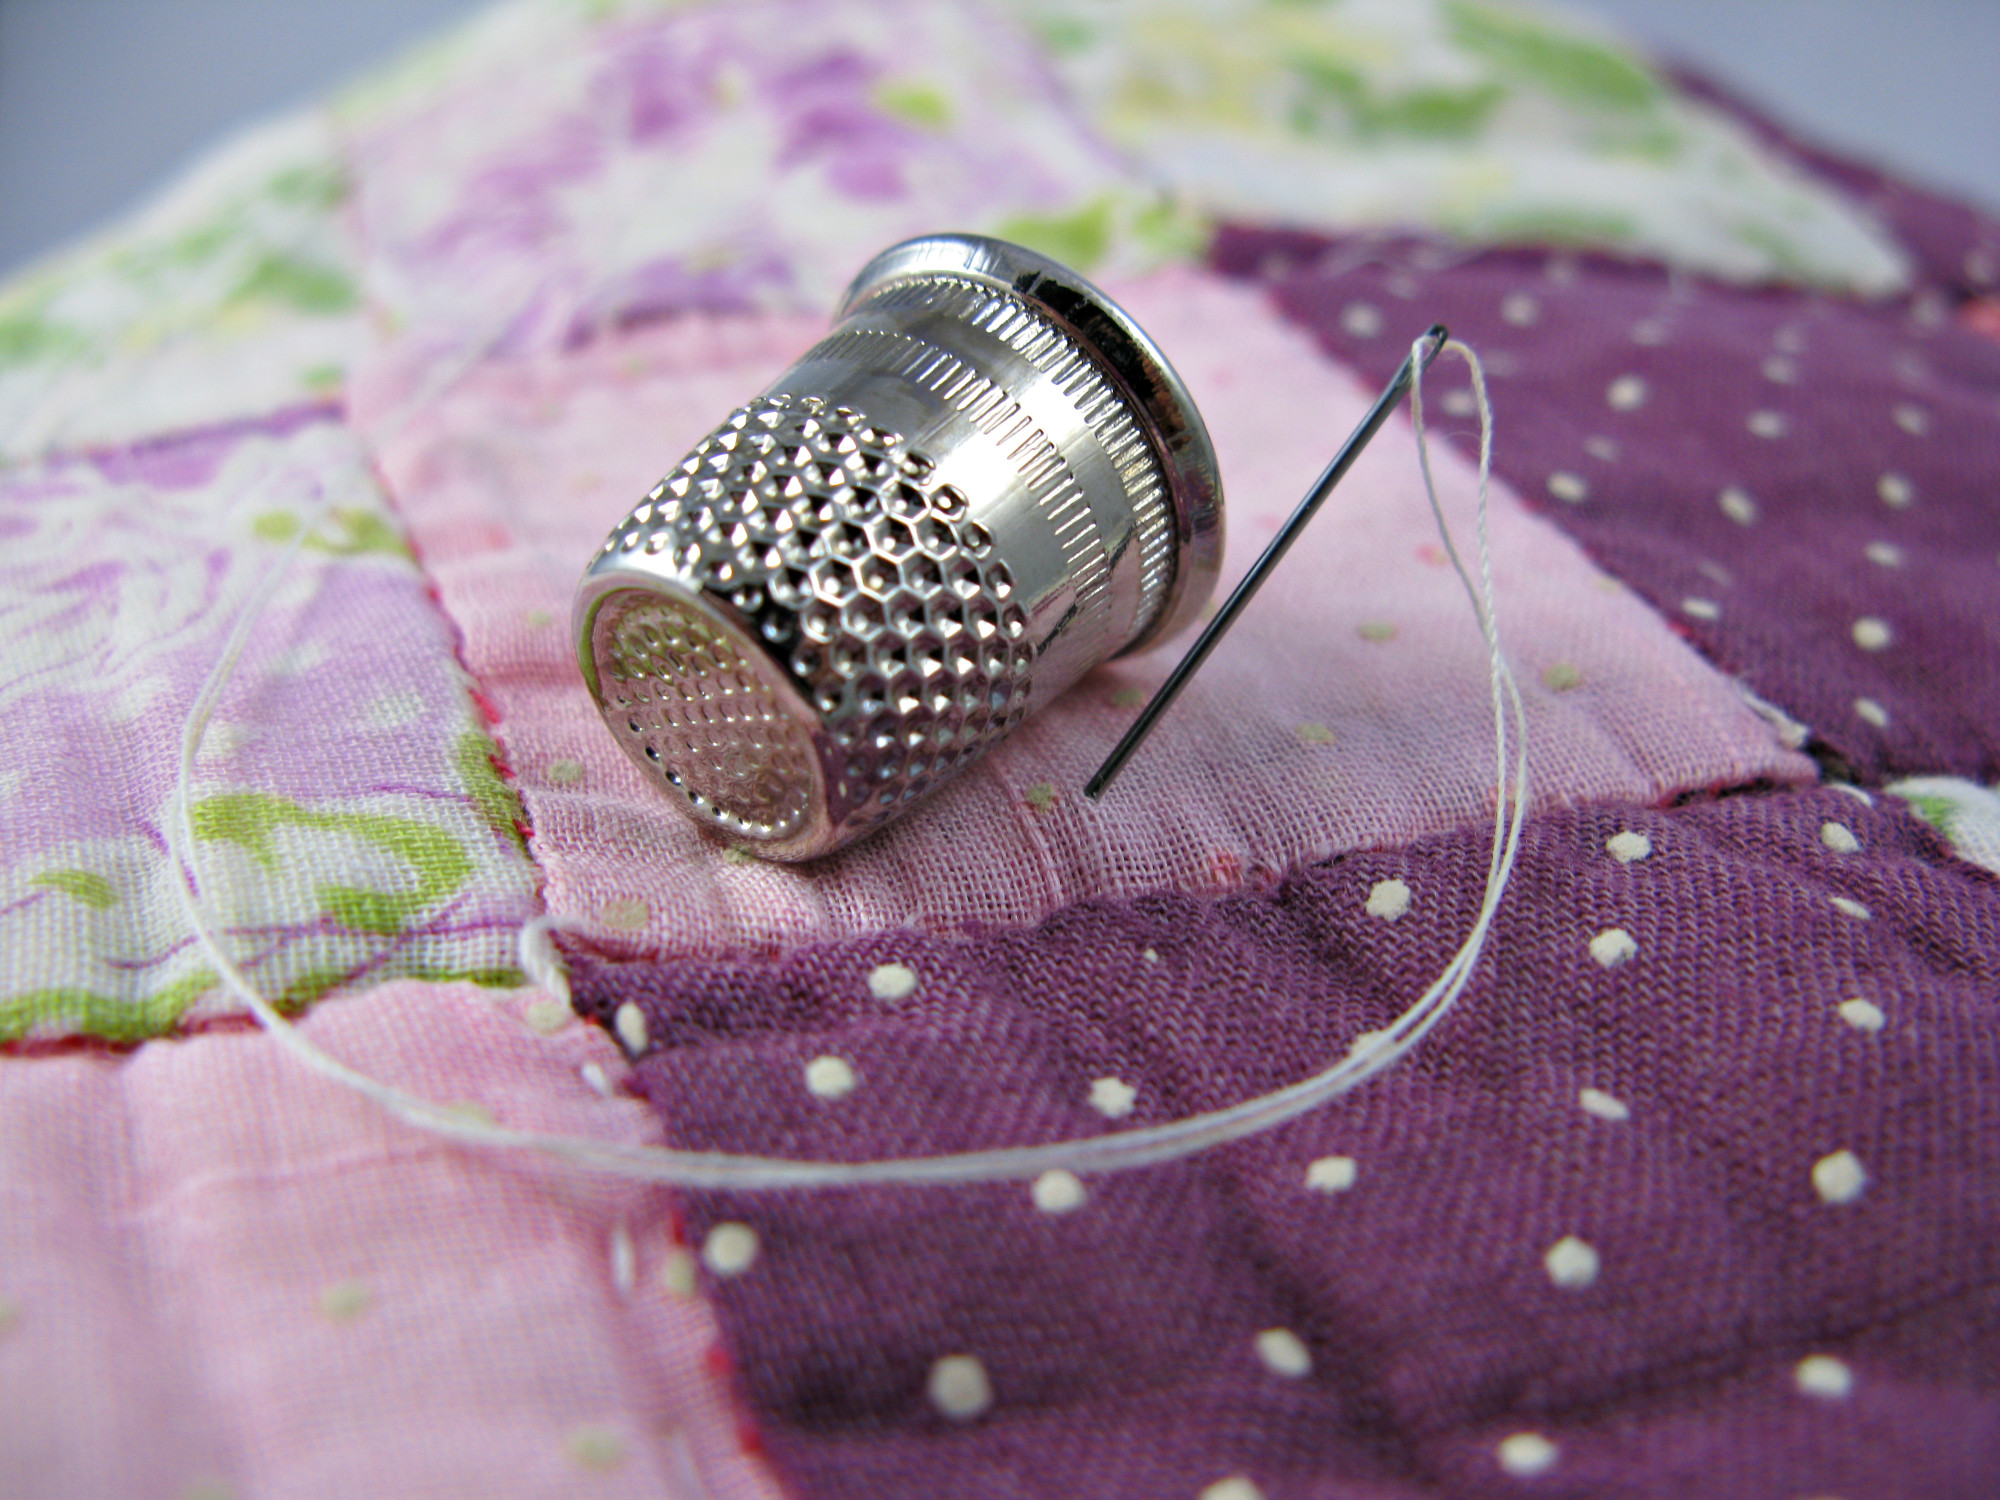
Do the Quilting
Once the quilt top is done, it’s time to make the sandwich. Take your quilt top and lay it over a layer of batting and a backing the same size. You may want to baste your quilt at this stage to avoid anything getting off-kilter or bunching.
Then comes the exciting part – the quilting. Using either a sewing machine or hand-stitching, you’re going to sew texture patterns into your quilt. These can be as simple as a diamond grid or as intricate as whole cloth quilting.
Finish the Edges
Once your quilting is all done, you’re going to need to finish your edges. Start by sewing strips of fabric together that will run the perimeter of your quilt, mitering them at the corners as needed. Then fold these strips in half lengthwise with their wrong sides together so the pattern is displayed on both sides of the strip.
You’re going to align the rough edges of your binding and your quilt and stitch along the edge of the quilt to secure the binding in place. Then fold your binding over the edge of the quilt so that it forms a nice covering on the edge. Using small, subtle stitches, hand-stitch the final edge of your binding in place, and then you’re ready to enjoy your quilt!
Learn More About How to Make a Quilt
Learning how to make a quilt can be a great way to preserve special pieces of fabric, create beautiful blankets that your family can enjoy, and simply relax and do something creative. Quilting is a long process, so don’t rush it, and be sure to be careful at each step. In the end, you’ll have a piece you can be proud of and that your family can use for years.
If you’d like to find more businesses that can help you discover a favorite new hobby, check out the rest of our site. We have articles about all sorts of businesses, from aviation software companies to house cleaning services. Check out our consumer resources to find the best business to help you today.