There’s nothing worse than a flooding basement, which means there’s nothing more important than basement waterproofing. There’s a good chance if you’re reading this then you’ve experienced this firsthand.
You’re not alone. A whopping 98% of basements experience water damage at some point. Even though a moist basement is a common problem almost every homeowner has, it’s still something you need to get in front of–and fast.
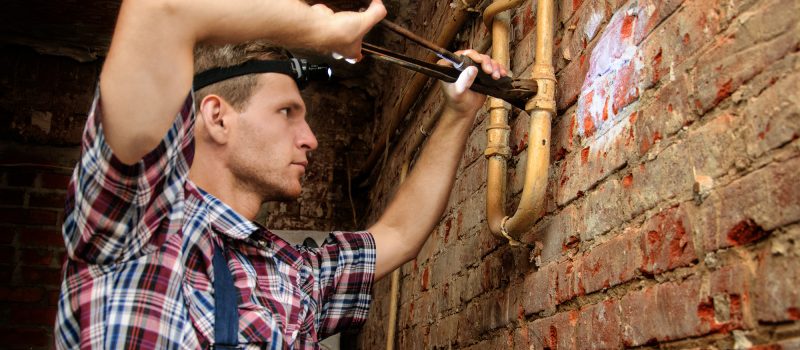
We’re here to tell you not to worry because there’s a solution–and best of all, it doesn’t require a professional. When it comes to do-it-yourself jobs, sealing your basement is a job anyone can tackle.
Read on for your guide on DIY basement waterproofing.
Why Basement Start Leaking Water
You shouldn’t worry about renting heavy equipment. Whatever the occasion — hard rainstorms, melting snow storms or flash fluids — you can run into problems in your basement. If you get leaks in your basement, you could be in trouble.
14,000 people experience water damage in the US every single day. It’s not surprising that waterproofing starts in the basement.
Whatever the reason your basement is leaking, protecting your basement begins from on roof! The main purpose of your home guttering system is to avoid the water hitting the ground around your house
Basement Waterproofing 101
Figuring out the best way to waterproof your basement isn’t as hard as you think. Let’s run through the best steps to take to waterproof your basement in a few simple steps.
Step 1: Stripping
Before you can have a waterproofed basement, we need to strip the wall surface of everything. This means you need to strip any kind of tiles, paint, oils, or glues on the foundation’s concrete.
Step 2: Vacuuming
Since we are waterproofing the bottom level of your home, step two is using the shop-vac on the foundation. Removing the moisture is a key point in waterproofing your basement and preventing future water damage.
Step 3: Sealing
This is arguably the most important step of sealing your basement since during step three you are sealing the moisture from your basement.
Sealers are easy to apply and a quick fix to minor leaks, once you remove the moisture. These seals can hold back water and prevent additional leaks.
Companies like Findley-Evans Waterproofing offer sealing services that can seal up your basement waterproofing issues.
Step 4: Repair the Cracks
When you think about your home, the last thing you want to experience is problems in your foundations. You should fix any major cracks, gaps, or spaces in your basement’s permanently with mortar.
Any damaged or crumbling mortar should be first removed and then replaced to increase the efficiency of the new mortar.
Become a DIY Expert
At this point, you have all the tools necessary for tackling this DIY basement waterproofing job. Basement leaks can range from simple to severe, so sometimes there are times to call in the professionals.
In the event that something goes wrong and Murphy’s Law takes over, use our search service to find a contractor in your area to immediately save the day.